Sunday, December 20, 2009

More paint!!

Well, as redundant as the photos seem, I can say, I am really happy with progress... all the ceilings on the second floor are finish painted!!!

First here is a quick shot of the master bathroom ceiling...

Now a shot of the master bedroom......after....paint...the bathroom is visible in the rear of the photo...


Here, is a picture of the front stairs landing.. minus all the spindles and handrail..


NOW.. here is a picture of the tin ceiling in the master bedroom, paint in progress.. you can really see the difference...

And, here is the finished ceiling..... it might have a second coat yet, this was the only room that had no primer put on.. it was washed before painting, 3 times.. and it does look nicer, will have to wait to see how it dried before determining a second coat is needed or not.


Just another view .. giggling

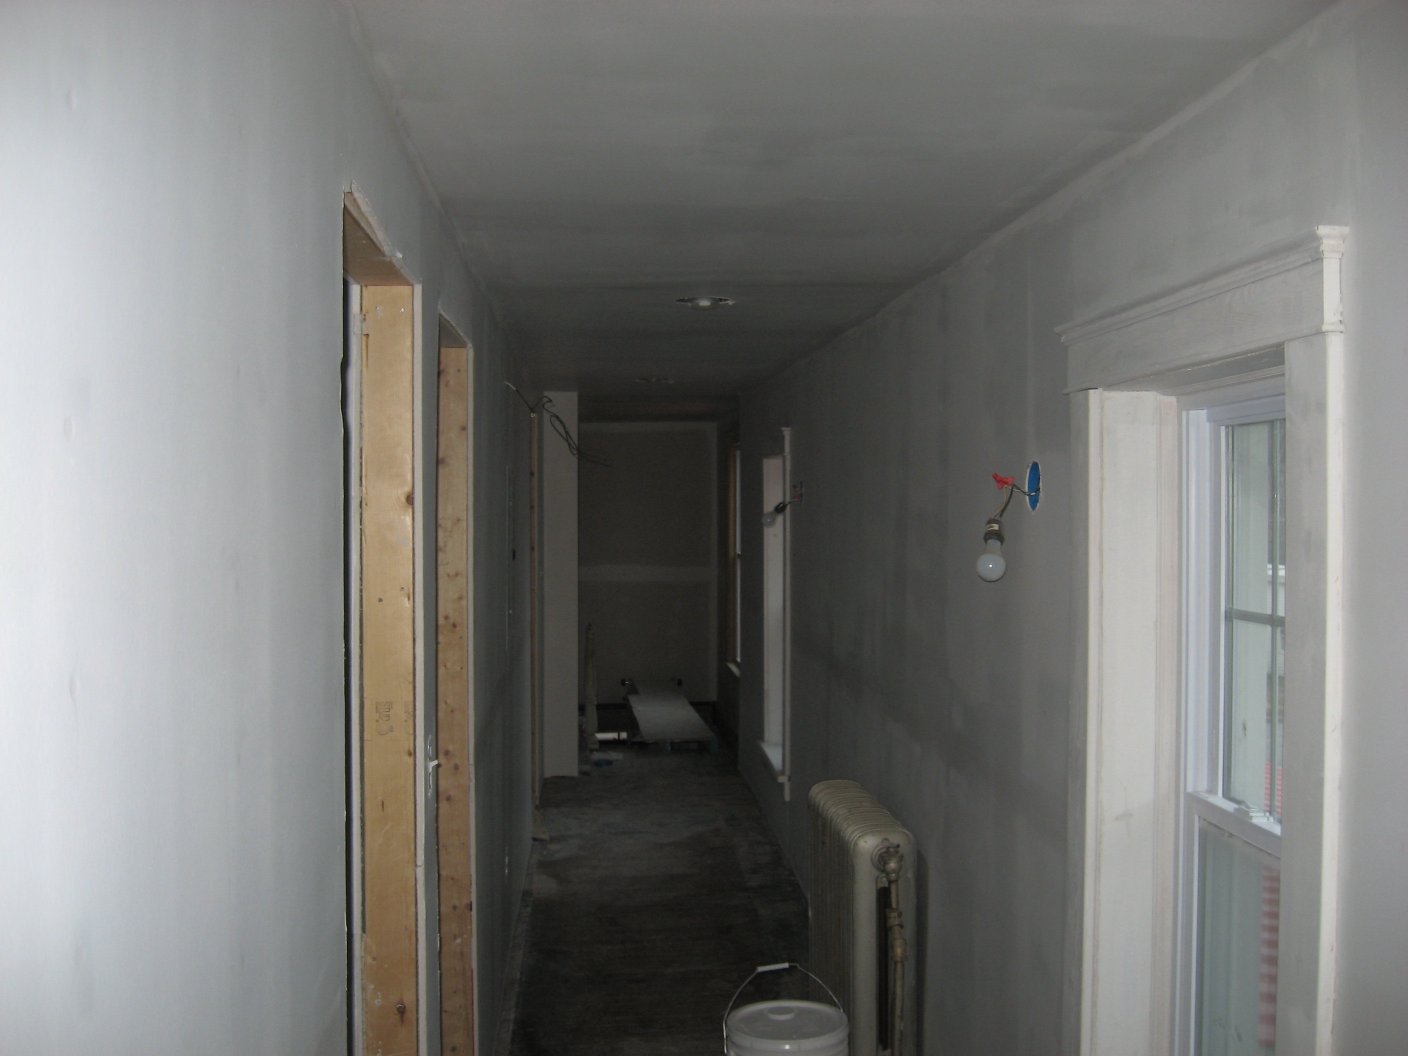
Now this is the upstairs long hallway... looks soo good with the ceiling paint! Nice and bright!


I have all the wall colors chosen.. maybe next time, if not, maybe some of the ceiling fans will be installed.

Sunday, December 13, 2009

More work!

Well, I have to say, it was a very long weekend! The start out, wasn't so bad.. it was just cold and dark.. we left early.. no traffic to speak of on the road.. We were afraid of driving into blizzard conditions, but we were lucky the snow stopped before we got there.. just a mess to clean up, a little more work.

We raked some snow off the roof.. and cleaned the walks....


Although this wasn't us, it was a good clue as to the work ahead.. I snapped this photo on the way ....


As well as this scene.. my first look of snow for the season...


But all said and done, we got the bathroom ceiling and two bedrooms ceiling painted, then some paint on the bathroom walls.. all ready to replace the sink and toilet, finish off the tub and it's done.. (check one off the list he he )


So, to wrap it all up, we stacked the wood, shoveled snow, painted, vacuumed all the white dust of all the floors, sorted out some tools, measured stuff,

Sunday, November 29, 2009

PRIMER!

It's finally looking like something! What a difference a little primer makes.. This is the rear stairs landing...


Another view of the rear stairs landing ... facing the laundry room.


3rd bedroom with a coat of primer..


2nd bedroom with a coat of primer!


Main bath with primer!

The Hallway with primer!


Well, all that priming took 5 gallons of primer... still have a lot to go.. but what I didn't show is all the rooms are sanded vacuumed and washed down.. so it's paint paint paint time! My girls are still trying to decide what colors they want in their rooms, I have to hustle on that a bit they keep changing their minds.

Sunday, October 25, 2009

Garbage work

I had a dumpster delivered.. almost filled it clearing all the construction debris that was stored in the garage/carriage house. But just look how neat it is!


Now this circle thing.. made by the Altlanta stove works co. We have no clue what it is.... do you? The only thing we can even imagine it can be used for, is hung upside down, to hang pots and utensils from... good imagination? Could be.

Other than that, little clean-up in the house, got rid of the vinyl runner in the upstairs hallway, and the sheet of linoleum in the master bedroom.. not a very productive weekend as far as construction, but for a one man job, not too bad, he worked hard.

Sunday, October 4, 2009

A change in plans

Due to the on coming winter, we decided to change course on what what was being done.. but first, the windows were replaced.. after a stripping, and re glazing, and a painting, they were put back up before the weekend was over. IT's an old huge photo, but here is a before pic


Here is the before and after of the stair case to the cellar. We decided to get some insulation in the wall, so we removed the pantry cabinets that were there, which will be replaced.. to insulate, in the second half of that photo, you can see the mouse nest..on one of the beams.

This is the upper wall area.. first the pantry cabinets, then removed, and the bead board wall boards.. to the bare sheathing behind...


ANd so while it was all open, the door sill, was in need of repair also..the cellar has it's own entry door, as well as a door to the mud room. It's a little messy looking, it was all caulked up, but it all gets a coat of paint one day soon, I hope.


As long as the Van was going up.. I decided it needed to be filled a little, so I had my glider and cafe table set sent up to make a place to sit on the back porch.. I LOVE the way my glider fits there.. that was a Mother's day present for me two years ago.. I bought the plans, and my husband made it for me!


There is only one area left with out insulation, and that is the rear stairway to the second floor.. it also has bead board walls, maybe next trip that can be removed, and insulated, and replaced.. so it looks original, yet is energy efficent.

Monday, September 21, 2009

Upstairs sanding 99.9 % complete!

I'll just post these pics to show the process.. the sanding is just about finished upstairs two ceilings left to work on.. they needed touch ups. The walls need a quick washdown inorder to paint now.. omg, I can't believe it... getting there! ( All pics are clickable to be made larger)


Saturday, September 19, 2009

Before Pictures

I don't really recall if I posted them here yet, but to refresh my memory, I loaded some before pictures of the house in my photo album there were just too many to list them here.

Sunday, August 23, 2009

getting done slowly

Well, it seems so simple, yet everything takes time. This is the bathroom that was in working order, in order to Spackle and paint, the toilet and sink had to come out, which in itself took some time. He then remembered to cover the tub and wall surround so they could stay fairly clean.


Now, this is what used to be the fourth bedroom, which is now the new laundry room, (far right) and sitting room. ( or may be still a fourth bedroom) He took pictures, to show me he had replaced the wood work around the windows! They really look nice, it now seems more like a room. In the ceiling in the center of the room, is the pull down stairs for the attic.

This photo is just showing the detail in the wood work. It isn't fancy, but it also isn't plain.. I am real happy it was all saved, stripped and reused. ( any photos can be clicked on to make larger)

Looking outside the window, you can see my carriage house.. I tried to avoid letting the outside be shown, it's in such poor shape, it needs a lot of siding repair, and paint!


I can't wait till it's all sanded, and painted, I bought all new ceiling fans, for most of the rooms, and I have some original ceiling lights and wall sconces I have been repairing, rewiring, to reuse in certain places, I can't wait to seee them installed!

Wednesday, August 19, 2009

Should I keep?

Look at this Swag Lamp:

The left was before being washed, and the right is after. It's a two lamp set, they are wired together..I planned on using it in the kitchen over the pull out table I have.. I thought it would be perfect. The contractor on the other hand says trash it... but I love the colors.. if you click on it, it should be larger.

Monday, August 17, 2009

The carriage house

Just wanted to show a photo of the exterior of the carriage house. It's kinda like a garage..only it used to hold horses and buggies in he past.


Sunday, August 16, 2009

New Photos!

I wanted to share photos of the top of the carriage house, it's enormous! For starters, we hope to make it a work shop and if you look, we have the wood moldings that we have to strip lined up there.

Here is facing the back of the yard:

A picture facing the front:


Two photos letting you see the span along the walls.. it is quite large!


Now a new photos of the kitchen.. those are the walls where the cabinets will be.. we have the soffits all set, we plan on decorating them with the pattern from the front staircase..to make it all belong.


Here is the view opposite the kitchen cabinets. You can barely see it, but there is the rear staircase on the right. The left takes you into the living room.


Now a view facing the back door (mud room) the rear staircase is more visible.


To the right of the back door, is where the small kitchen table will be. We have the old built in China Cabinet that should fit into the right corner. (click link to see cabinet )


Now the view of the living room. The carboard box is covering the wood stove to protect it from plaster.


The living room, facing the Sun Porch.


I think hubby was just showing off all the plaster on the walls for this.. it's the wall on the kitchen side.

And last for this week, is a photo of the living room facing the arch to the parlor, and the foyer.

Sunday, August 9, 2009

Going slow ....

Seems like things take forever.. but I realize how much effort is put into it. I look around, and can see the makings of a house.. it's so cool! When we bought it, it looked like a house, but then we did all the demolition, and I lost that perspective in the work process.

Here is a photo looking toward the front door. The doorbell was hung in place, just to get it off the floor.. I know, it isn't new, but I didn't want a new one.. this is original to the house, and I am trying to preserve that as much as I can. All we did was relocate it. It originally hung on the wall in the foyer, near the door.


As you could see by the picture above, the parlor is loaded with "stuff" we had to empty the sunporch, so we could hang the left over sheet rock to get it out of the way. Emptying the porch, was a major job.. it was loaded up with furniture, the kitchen cabinets, the corner china cabinet that came with the house...and my little refrigerator.

The next two pictures are of the sunporch, with the sheet rock hung on the ceiling. It was just short of completion.. we didn't realize what was left would go so far! Hubby figures he needs another 20 sheets, 4 x 8 to finish.. ~sigh~ so close yet so far!

Facing the back of the house:


Facing the front of the house:


These photos (below) were taken just so I can appreciate the green grass growing! Last trip there, there was snow on the ground. This is my back yard (postage stamp) As you can see the carriage house has some issues.. but we are hoping to help it out in the spring time.


Here is a view out my closet windows (second floor). I love the house across the street.. it has a lot of fancy woodwork on it, I am not sure if the photo shows it enough, you may have to click the photo to see it enlarged. The biggest problem with that house, is the space between it and the neighbors! OMG I could not be that close.. I am close enough.


Anyway, this trip, hubby came home with a little bit of a chip on his shoulder. Apparently sis-in-law had some things to say to him, that she really had no knowledge of, and angered him. Thank God it's his sister, not mine! It centered around me, yeah I know, I am in the middle again.. always me.. my fault.. but, he was able to put it aside for now.. but if she ever brings it up again, I know she will be sorry.... he won't hear it again. I don't want ill feeling, I am hoping to make this my home, and I want peace with my family members in the area.